Animation Fundamentals - Exercises & Projects

25/8/2020 - 24/11/2020(Week 1-Week 14)
Alfie Koh Chen Fong (0340310)
Animation Fundamentals
Exercises & Projects
LECTURES
In the first week, we learnt about the 12 principles of animation today by watching the videos provided by Mr Faizal. We need to develop this knowledge and understanding of how animation works. We should keep in mind the 12 principles of animation while we creating a character.
Week 1(25/08/2020)
We were tasked to list down 12 principles of animation based from the video references which been given for us to study, we need to review and research before we experience the method of using the tools in Adobe Animate / Flash for our weekly exercise and projects. The dateline for each exercise will be ended by weekly progress and submission. All delay should be reported or inform to the Lecture in formal letter pdf format email and submit by email, Whatsapp and google classroom.
We were tasked to explore and create 5 different characters based on basic shapes, also a summary for the 12 animation principles. Below are my 5 characters and the summary.
 |
| Fig 1.01 5 characters based on basic shapes |
Summary of 12 animation principles
Week 2(01/09/2020)
This week is about the character model turn around and line of action for character development for Animation. Lecturer teaching us how to create a chibi character with a proper proportion which is consistent. Also, lecturer provides a video of about 5 types of animation.
 |
| Fig 1.02 Reference for the character's line of action |
 |
| Fig 1.03 Character development |
We were tasked to explore more on different poses and styles of characters. Below are my explorations.(Fig 1.04-1.07)
 |
| Fig 1.04 Sketches 01 |
 |
| Fig 1.05 Sketches 02 |
 |
| Fig 1.06 Sketches 03 |
 |
| Fig 1.07 Digital Sketches |
Mr Faizal said for start looks ok but I need to pay more attention to the final design poses.
Other than that, we also need to create a stylized character and chibi character in front, back and side view. Below is my first attempt.(Fig 1.08-1.09)
 |
| Fig 1.08 Chibi Character |
 |
| Fig 1.09 Stylized Character |
However, there are several problems with the proportion. Hence, I reviewed back to the recording and revised my character to make sure every step are proper. Below are the steps for the revised version.
 |
| Fig 1.10 Draft for the shape, size. |
 |
| Fig 1.11 Adding details |
 |
| Fig 1.12 Cleaned the guidelines |
Mr Faizal said it looks better and I need to make sure all the line is connected.
Week 3(08/09/2020)
This week is about how to refine the character design and the fundamental animation methods which is Post to post animation. Two videos were provided for our references.
 |
| Fig 1.13 Connected all the line, refined character |
 |
| Fig 1.14 Bouncing ball 01 (GIF) |

Other than that, we need to explore at least 10 poses by using only lines. Below is my 10 poses. (Fig 1.16)
 |
| Fig 1.16 10 Poses exploration |
Week 4(15/09/2020)
This week we learnt about how to apply stretch and squash, timing and post to post animation with timesheets. We were given 3 different tasks based on the bouncing ball exercises.
1. Slow in
2. Slow out
3. All even halves
Below are my attempts.(Fig 1.17-1.19)
This week we learnt about how to apply stretch and squash, timing and post to post animation with timesheets. We were given 3 different tasks based on the bouncing ball exercises.
1. Slow in
2. Slow out
3. All even halves
Below are my attempts.(Fig 1.17-1.19)
 |
| Fig 1.17 Slow in |
 |
| Fig 1.18 Slow out |
 |
| Fig 1.19 All even halves |
We were assigned to do some works before the class ended.
1.Character model sheets - 4 different position Front, Side profile, Three Quater, and back with 3 different colour scheme suggestions.
2. 10 different action poses no colouring needed
3. 5 facial expression half body/medium shots position
Below are my works. (Fig 1.20-1.23)
 |
| Fig 1.22 10 poses for the character |
 |
| Fig 1.21 Color theme 01 |
 |
| Fig 1.22 Color theme 02 |
 |
| Fig 1.23 Color theme 03 |
However, I don't satisfy with my 10 poses character's work. Hence, I did another work. (Fig 1.24)
 |
| Fig 1.24 10 poses for the character 02 |
Below is the 5 facial expression work. (Fig 1.25) I tried to exaggerate the facial expression however I afraid the prototype of the character will be destroyed at the same t.
 |
| Fig 1.25 5 Facial expressions |
Week 5(22/09/2020)
This week we were given a basic walk cycle exercise which been using : 1. post to post animation method 2. Classic motion tween features for the character motion from point A to B 3. create static background styles to compose with the character concept environment We need to produce at least one single walk cycles for this week before we can explore more on the different methods in the following weeks. Some of the examples is showed by the lecturer. (Fig 1.26-1.27)
 |
| Fig 1.26 Jump cycle example showed by the lecturer |

Before I started my works, I did a test by using a simple character to let myself familiar into the steps.(Fig 1.28)
 |
| Fig 1.28 Testing |
After the testing, I proceed to do my works using my character. Below are the works. (Fig 1.29-1.30)
 |
| Fig 1.29 Character walk cycle |
 |
| Fig 1.30 Character walk cycle with background design |
Week 6(29/09/2020)
For this week, lecturer shows us how to create a lip sync acting. Below are the works done by the lecturer.
We were assigned to create a character turn around movement and 3 lipsync acting using the voice given. Below are the works. (Fig 1.31)
 |
| Fig 1.31 Turn around movement |
Lecturer said the legs looks like sticking on the ground, I need to give more movement to make the character more vivid. Below is the revised version.
Week 7(06/10/2020) - Week 13(17/11/2020)
Final Project
For the final project, we were tasked to create a 20 seconds animation which includes 12 principles. The lecturers are combining two different modules' for the final project. We started with a story, and proceed to the character development and background exploration. Below is the character silhouette and the background draft.
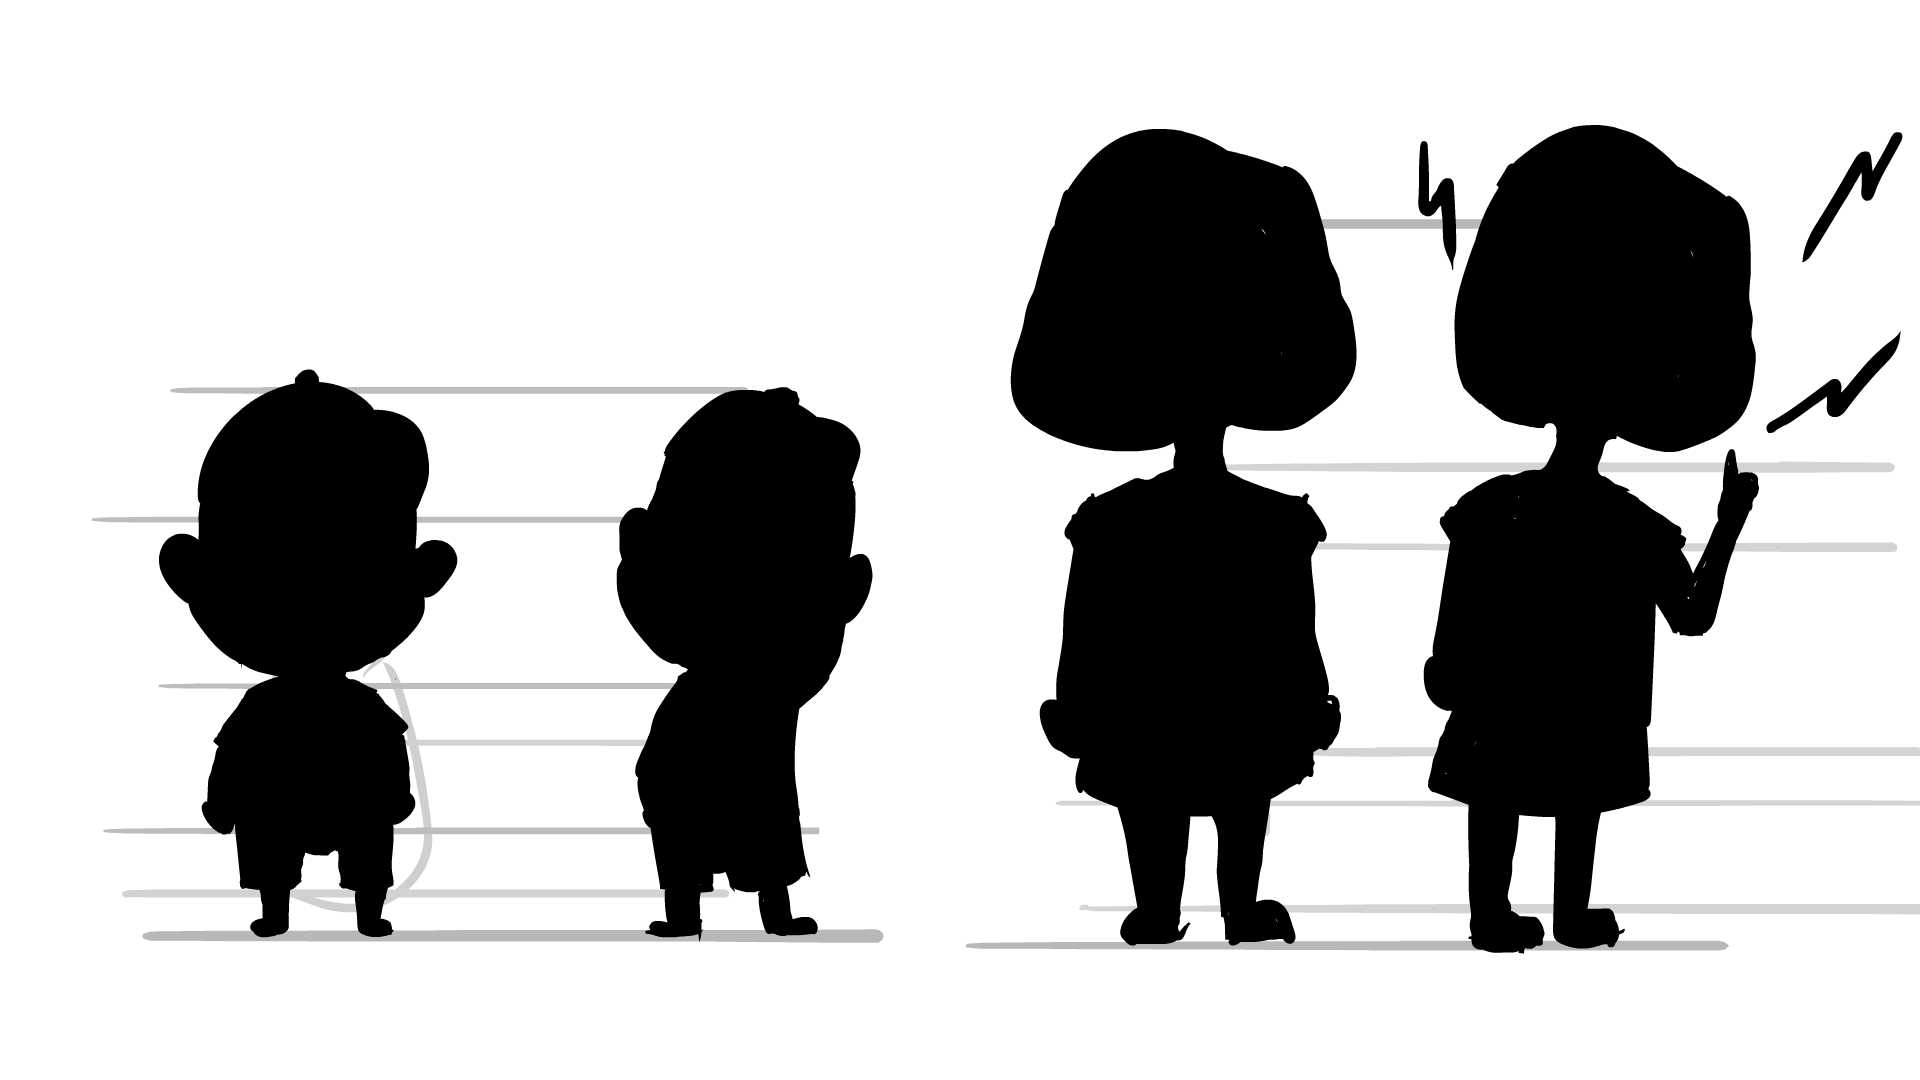 |
| Fig 1.32 Character Silhouttee |
 |
| Fig 1.33 Sketches of Character Idea 1 |
 |
| Fig 1.34 Sketches of Character Idea 2 |
 |
| Fig 1.35 Sketches of a Background idea 1 |
 |
| Fig 1.36 Sketches of a Background idea 2 |
After the exploration, I proceed to do the storyboard.


I was tasked to create an animatic to let the lecturer have an understanding on my animation. Below is the animatic.
The lecturer approved it and asked me to proceed to do the final animation. Below is the final animation. I added some sound effect and background music, applying 12 animation principles I learnt on this animation.
We were also tasked to do a presentation to conclude 13 weeks of finding on this module. Below is the presentation slides. The presentation video was sent to the lecturer.


Comments
Post a Comment