Final Project Week 8(22/10/2019)-Week 13(19/11/2019) : Briefing about final project
This week we need to bring our sketching which are the vision of future and describe it to lecturers. We can think future as utopia or dystopia. For me, I think because of the pollution, human need to move to sky, so my thinking is like human live in the sky. They built cities on the flying rock with a shield. At the middle of cities, there are a big tree that provide oxygen, because the oxygen at the sky is rare. Also, there is a lot of roots under the cities because the tree is continuing grow up. For our final project, the fomat should be 1920x1080 in landscape.(IMG 1.01)
IMG 1.01 My sketching which is a flying city
Through the discussing with lecturers, they think my idea works. But they think no need to put the roots under the city. According to their suggestion, I start to find some photos that can support my final project. Below are the photos I use.(IMG 1.02-1.10)
IMG 1.02 I wan to use the glass of light bulb as the shield of city
IMG 1.03 Future buildings
IMG 1.04 Tree in the middle of cities
IMG 1.05 Future plane
IMG 1.06 Future plane
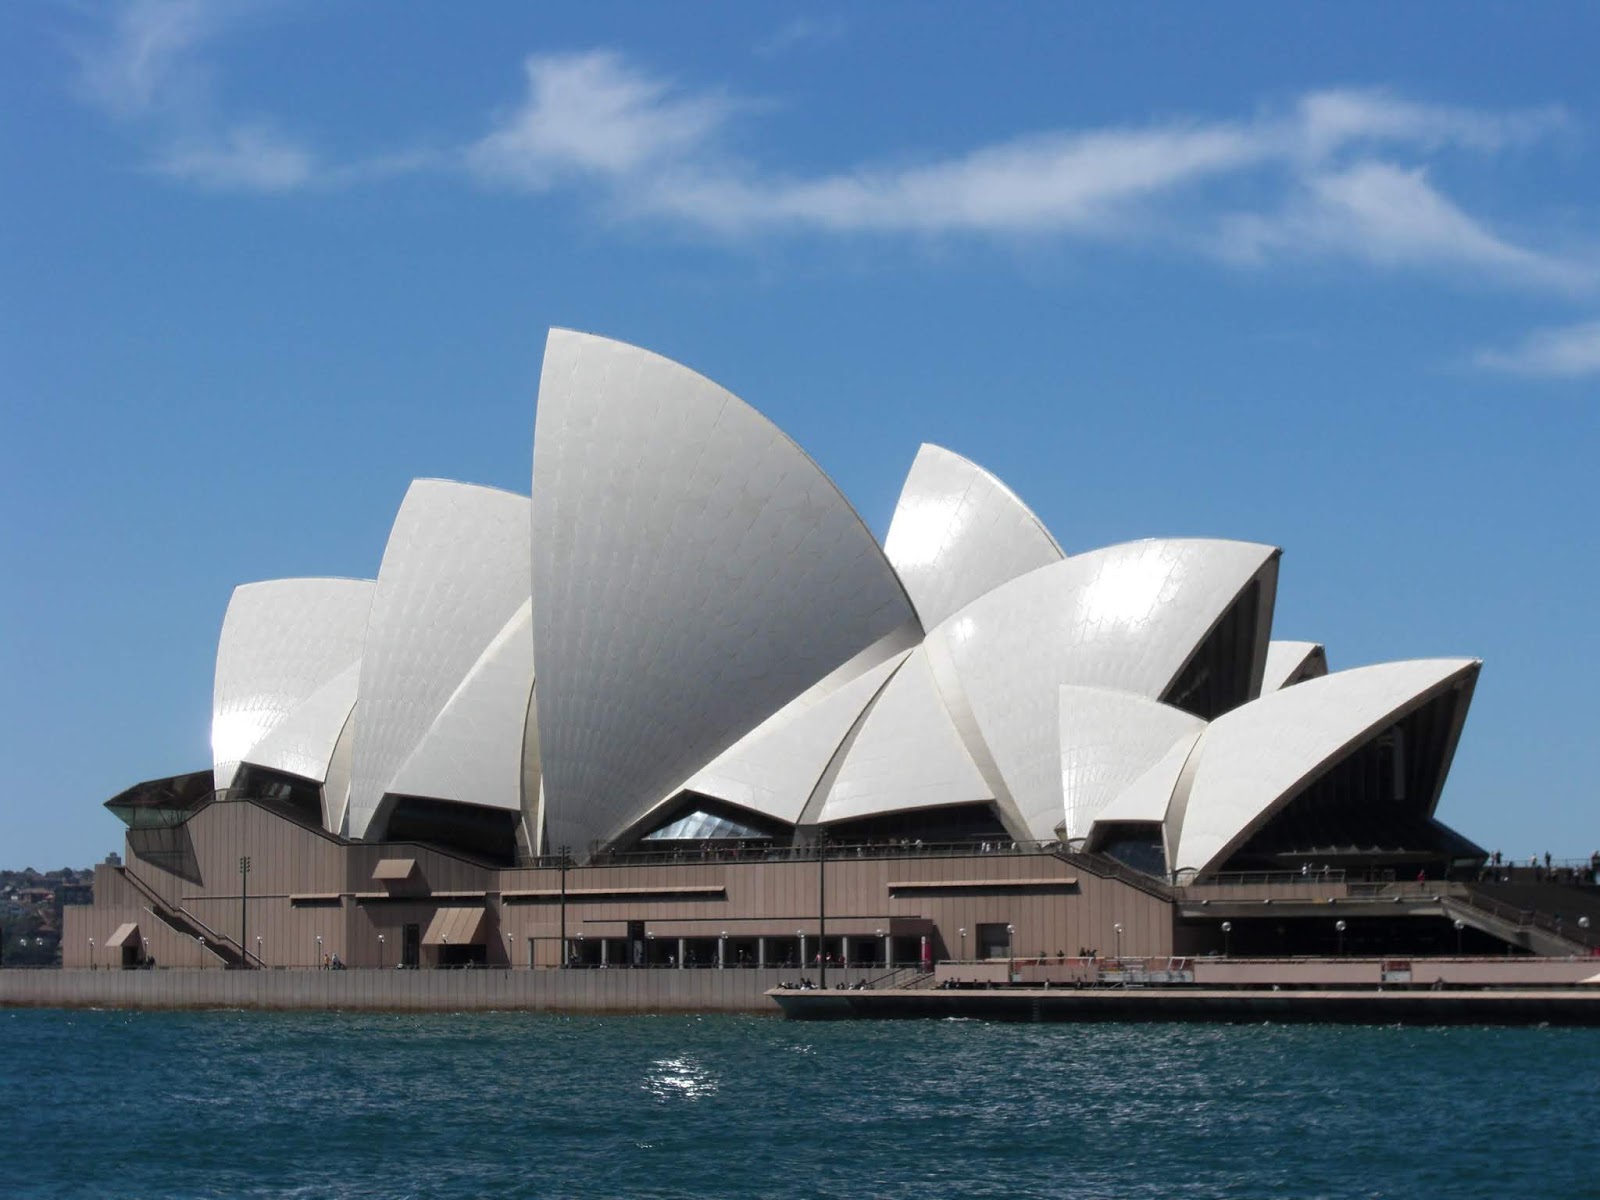
IMG 1.07 I decide to use Sydney opera house as one of the future buildings
IMG 1.08 The main background and flying rock
IMG 1.09 Flying ship
IMG 1.10 City
At first, I removed the plants and buildings of the flying rock by using masking tools, but the background became like this.(IMG 1.12) By asking my friend, he taught me using the polygonal lasso tools to select the white space, and click right click, click "fill" and remake my background. After that I separate the clouds and the dust which are under the flying rock by using selection tools and layer via cut because it will be easier to move it in my animation. Also, using the same way "fill" to make sure my background is perfect.(IMG 1.12)
IMG 1.11 After masking
IMG 1.12 The result of using "fill" tools and separate the layers of cloud and the dust
After that, I started fill the above of flying rock with cities, tree and shield. I used masking tools to adjust some details make sure it looks nicer. (IMG 1.13-1.15) I created a new layer and using the brush tools and blending mode to make some shadows .(IMG 1.16) At last, I added all the flying vehicles on the sky and finished my still.(IMG 1.17) I merged all the layers which are on the flying rock.
IMG 1.13 Adding some cities
IMG 1.14 Adding big tree
IMG 1.15 Adding the shield which I selected it from light bulb.
IMG 1.16 Adding some shadow and adjust the brightness by creating a new layer
IMG 1.17 Adding some flying vehicles
JPEG of my still
When I finished the still, I start creating the animation in after effect.(IMG 1.18) I make the cloud moving horinzontally, the whole cities moving vertically. Also, I decrease opacity of shadow under the flying rock so that I can increase it when the flying rock is moving down and decrease it when the flying rock is moving up. I also let the flying vehicles moving a little bit. When I finished all the moving, I tested the animation and found that my object will became blur when it is moving. Mr Jeffrey told me it is because my computer can't support too many layers, so the object will become low quality when it is moving. But this doesn't affect my marks of final project.
IMG 1.18
FEEDBACK
Mr Jeffrey said I can blur the clouds to make it match to the background and the remaining are fine. I can have a foreground and a light streak for my animation.


Comments
Post a Comment